Top 5 Benefits of Multi-Masking for All Skin Types
 Share
Share
How to Multi-Mask and Why You Should Start Tonight
Your skin is as unique as you are. Add to that the changing seasons, extra days spent out in the sun or wind, makeup, sweat, and the grime of daily life, and you have an ever-changing climate of skin challenges. You might be oily one day and dry the next. You might have normal skin sometimes and get oily in the summer. You might be dry all the time – and even more dry in the winter. Whatever your situation is, one of the best ways to control the climate on your face is with the skincare secret weapon of multi-masking. Multi-masking involves applying different face masks on your skin at the same time – and it has some serious benefits.
What is multi-masking?
Multi-masking means you are using more than one face mask at the same time. Instead of applying your mask all over your face, you apply face masks where you need them the most. This allows you to give the different parts of your skin nutrients it needs. Plus, you can target skincare concerns with your masks. For example, if you are prone to breakouts on your chin and forehead but have dry cheeks, you can use a hydrating mask on your cheeks and a mattifying or detoxing mask on your chin and forehead. Use masks that target individual concerns.
Why multi-mask?
The incredible advances in skincare have allowed us to know more than ever about how we can take care of our skin at home. And that means face masking isn’t what it used to be, but better! Gone are the days of using one mask twice a week that is difficult to remove and requires harsh scrubbing with a washcloth. Today, masking is meant to be gentle and effective to promote skin health. They’re even better when they are made with nourishing ingredients and are easy to remove. This is an important piece of the multi-masking puzzle.
So why should you start to multi-mask? Multi-masking has many beauty benefits – and the first one is that you don’t have to worry about whether a product is suitable for your entire face. When you’re targeting one problem, you know the mask is meant to be used on that area. Multi-masking also allows you to create a customized mask routine that is completely tailored to your skin. You can use two masks or more to get the desired results that you want.
Another benefit of multi-masking is that you can easily switch up masks for what your skin needs at any time throughout the year. You also won’t have to worry about wasting product when you multi-mask!

How to multi-mask
Step 1: Determine your needs
The first step to multi-masking is determining what your skin needs. Are you targeting fine lines? Dark spots? Oily areas? Breakouts? You know your skin better than anyone! Figure out what you want to target to find the right mask for you.
Step 2: Prep your skin for multi-masking
For an effective masking experience, one of the most important steps is to prepare your skin for the mask. First, gently cleanse your skin with warm water and a cleanser to remove all makeup and impurities. Pat dry with a clean towel. This also helps soften your pores and opens them up to receive the nutrients from the mask. Next, exfoliate your skin. If you have too much dead skin and flakes on the surface of your face, it will be difficult for the mask to do its job.
Step 3: Apply your face mask for spot treatments
Here’s the fun part of multi-masking! It’s time to apply your face masks depending on what you need. Most people will need clarifying products in the T-zone (forehead, nose, and chin) and hydrating products on the cheeks. Why? Because your face produces more oil in the T-zone. The pores in your T-zone are more prone to clogging as well. Your cheeks have fewer oil glands than the rest of your face and typically need a hydrating mask for this reason.
Apply a hydrating, restorative mask to your cheeks and a purifying mask to your T-zone. Wait until the mask is completely dry (follow the mask’s directions), and then it is ready for removal.
Step 4: Mask removal
Any face mask that you use should be removed gently, without any tugging or pulling on the skin. To do this, wet a washcloth with warm water. Gently move it in circular motions on your face to remove the mask.
Step 5: Hydration
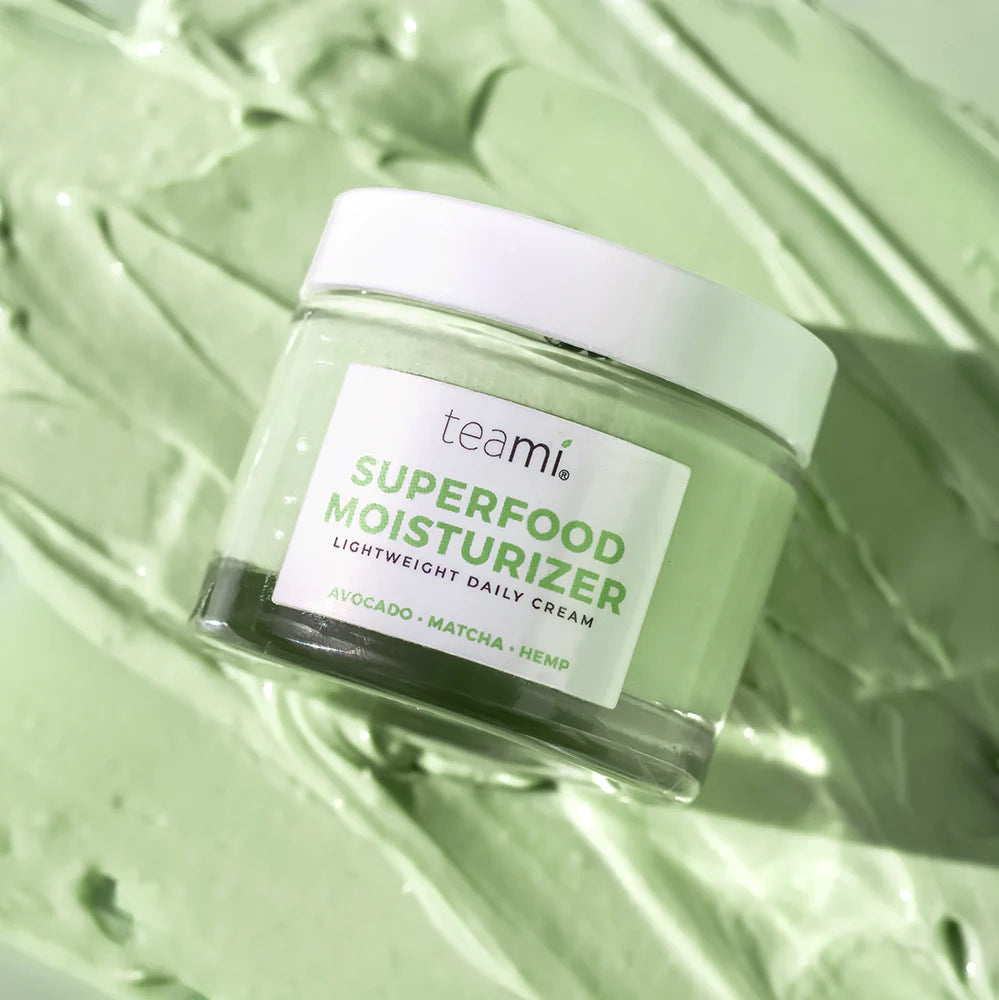
After masking, restore hydration with your favorite moisturizer or facial oil. Since most people mask at night before they go to bed, you can also use a night cream or an overnight face mask.
How can I multi-mask with my Teami masks?
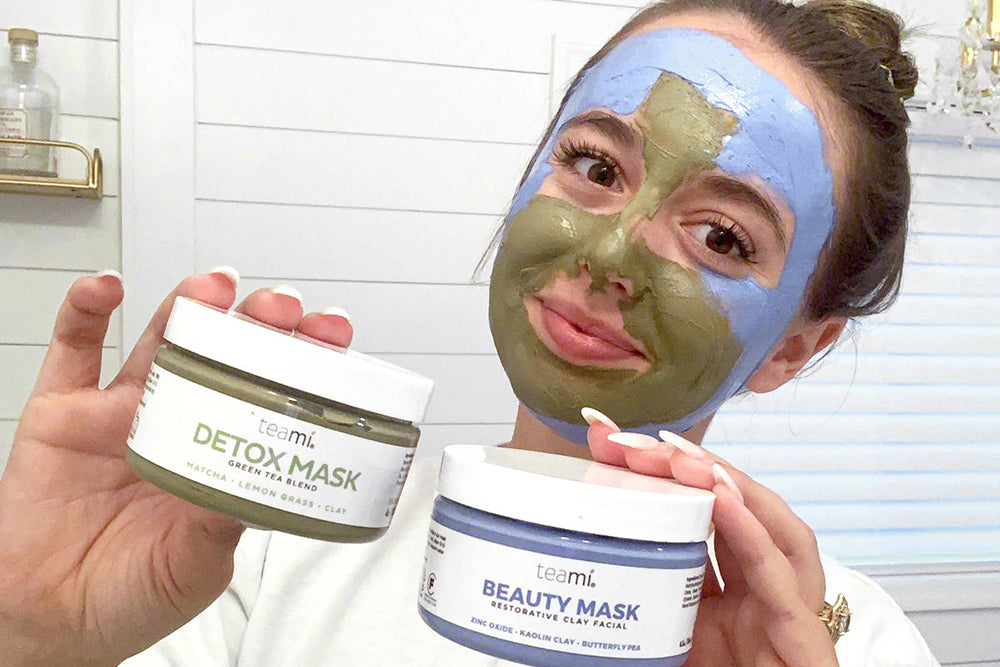
At Teami, we love multi-masking with the Green Tea Detox Mask and our blue Beauty Mask!
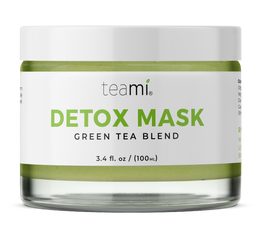
The Green Tea Detox Mask is made with naturally detoxifying ingredients, including organic matcha green tea, lemongrass and bentonite clay. It is powerful but gentle, and gently cleans and refreshes pores to get the hidden gunk out of them! This mask is perfect for oily T-zones and can be used up to three times per week (or more as a spot treatment!).
If you need more hydration or have naturally dry skin, the Beauty Mask, Restorative Clay Facial helps restore your skin’s natural balance and radiance. Zinc oxide, butterfly flower, and kaolin clay work together to reveal smoother, hydrated, and more supple skin. This mask is especially helpful for drier areas on your face, like the cheeks!
While both of these masks are amazing on their own, they complement each other perfectly for multi-masking because of their unique properties. And if you want to take your multi-masking to the next level, use our Overnight Sleep Mask as the last step in your routine!
If you have ever struggled with different issues on different parts of your face, multi-masking might truly make the difference. And if you are new to multi-masking or an old pro, we want to see your colorful faces all over Instagram! Show us your multi-mask night in and use #thankyouteami to tag us in your posts!

Love,
Adi Arezzini | @adiarezzini
Co-Founder + CEO, Teami Blends
Certified Holistic Nutrition Coach
Try Multi-Masking with Our Natural Clay Masks


 Facebook
 Twitter
 Youtube
 Instagram
Subscribe to our Newsletter
Subscribe to our newsletter and get 10% off your first purchase